

Hot Hobbies & Toys Posts


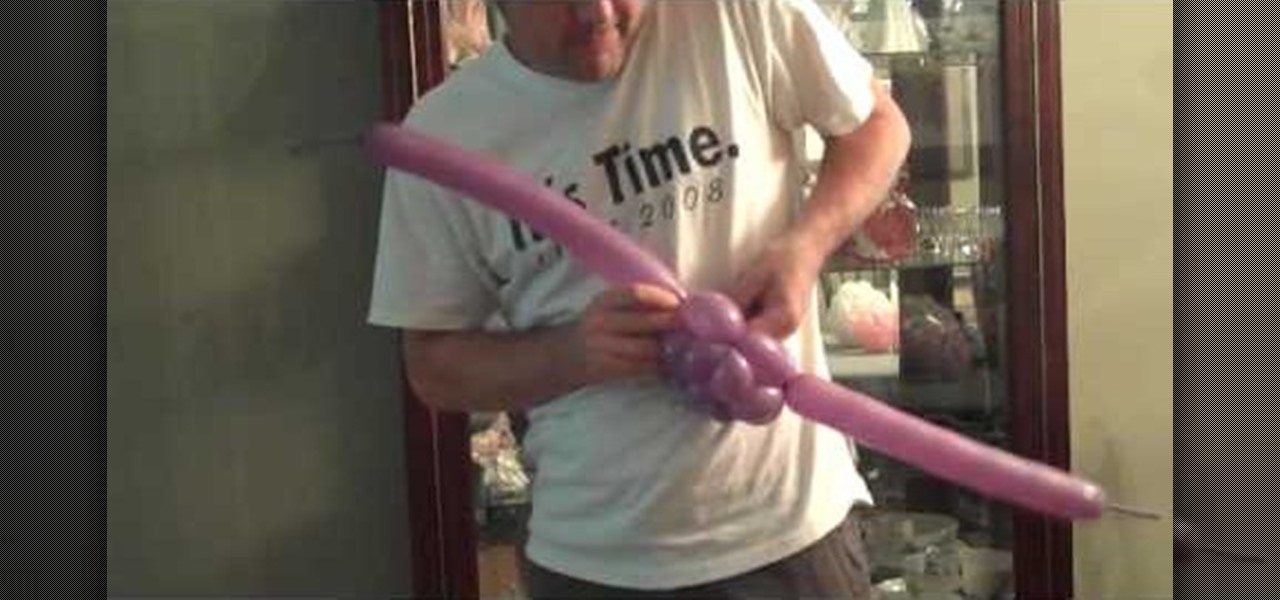
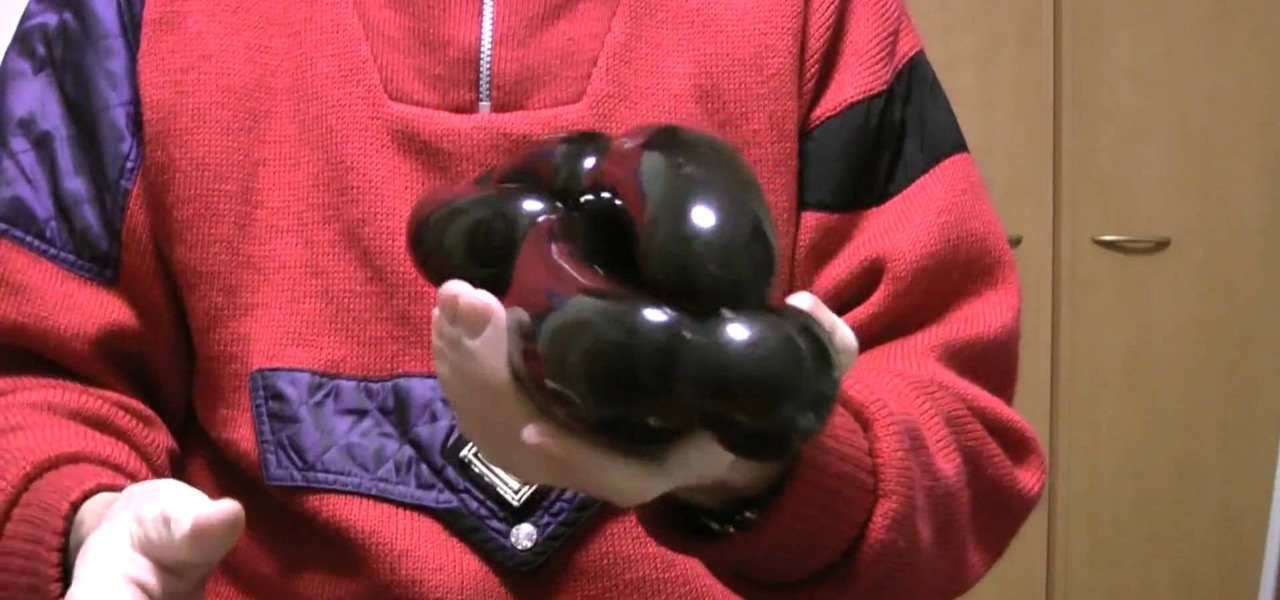
How To: Make a truncated tetrahedron from balloons
In this tutorial, we learn how to make a truncated tetrahedron from balloons. This will involve a lot of twisting of your balloons, so use lots of colors to make it shine. Make sure you leave enough space in the balloon so that you can get all of the twists you need to. Twist bubbles throughout the balloon and then create a circle with it. Connect this color with other balloons that you create with different colors. As soon as you are done, these should all connect together and make a truncat...

How To: Clean Dirty Pennies Using Only 3 Things
Do you want your old, dirty pennies to be shiny and glistening again? This article will demonstrate how to return their lovely allure using only three items: salt, lemon juice, and a jar.
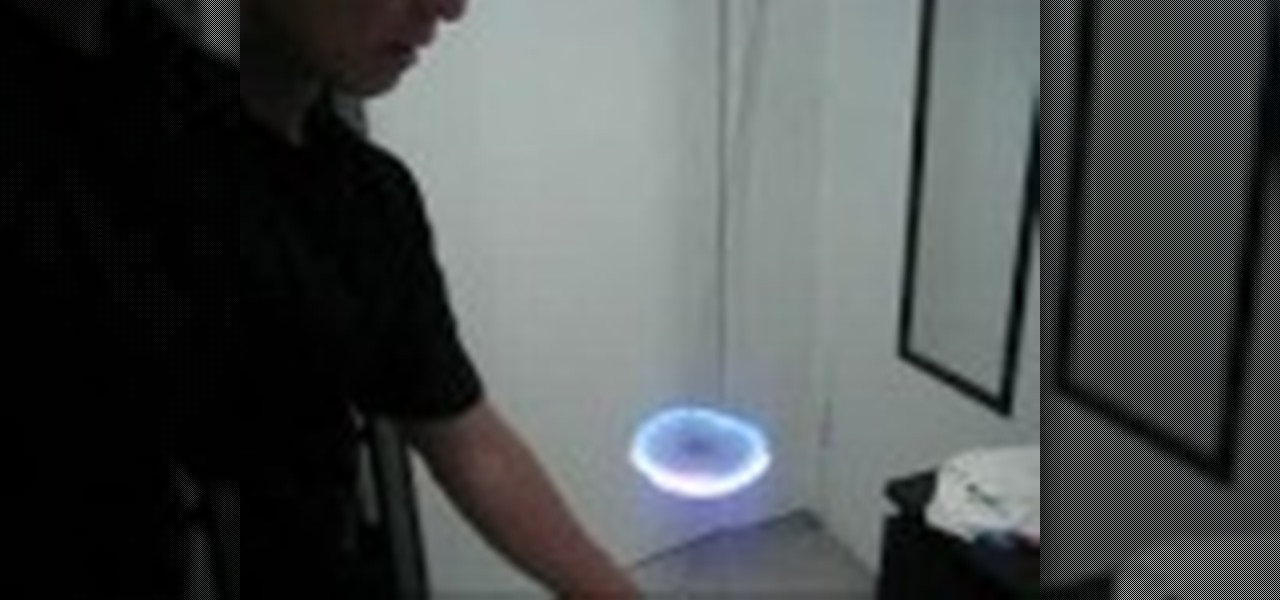
How To: Do an orbit at an orbit light show
In this video, we learn how to do an orbit at an orbit light show. The light should spin clockwise in one and and counter clockwise in the other. You must pay close attention to keep these spinning back and for. Start out by winding the lights up and mastering this so you can produce different shapes. After you learn the wind up, learn how to make the stars with it by winding it up one direction and let the orbit in the middle unwind itself in the opposite way. Once you're comfortable, you wi...

How To: Make a balloon truncated octahedron
In this video we learn how to make a balloon truncated octahedron. This is a complex design for a balloon where you will use around three balloons and create squares and hexagons. This is a difficult type of balloon to create, so make sure you have experience before you begin. Take the first color and twist bubbles into it, making around 16 in total. Then take the next color and twist that into the same amount, twisting into a circle. After this, intertwine these balloons together which one a...
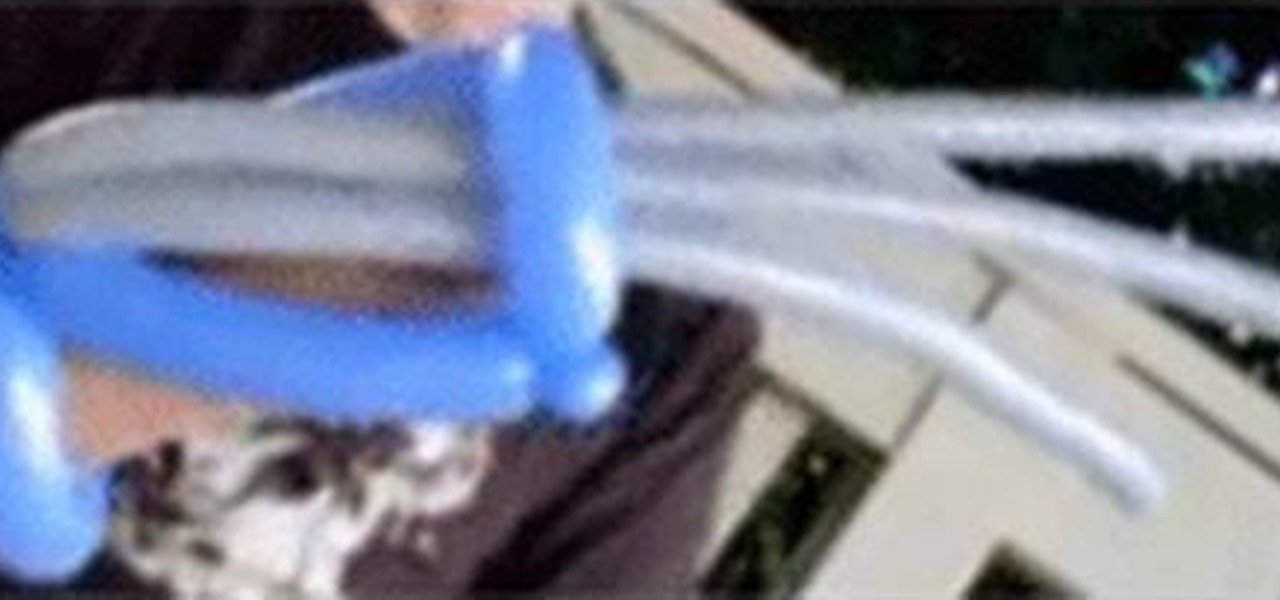
How To: Make balloon wolverine claws
In this video we learn how to make balloon wolverine claws with Michael. This is very simple, you just need two balloons that are 250 and two balloons that are 160. Use gray balloons to make them look more like claws. From here, you will take your blue 260 and inflate it then tie it. Make sure there is 4-5 inches left on the tail. This will allow you to tie the balloon and create pinch twists with it. Continue to twist the balloon, then incorporate the gray balloons in with it. When finished,...

How To: Make a big pink heart out of balloons
In this video we learn how to make a big pink heart out of balloons. Start out with one side being a cuboctahedron. If you don't know how to make this, try checking out previous videos to make the shape. Once you have done this, you will use another balloon to connect and make the inside of the heart shape. Throughout the shape you will need to twist several bubbles inside the balloon, so make sure there is enough room left to do this. After you're finished, you will have a cute heart shaped ...
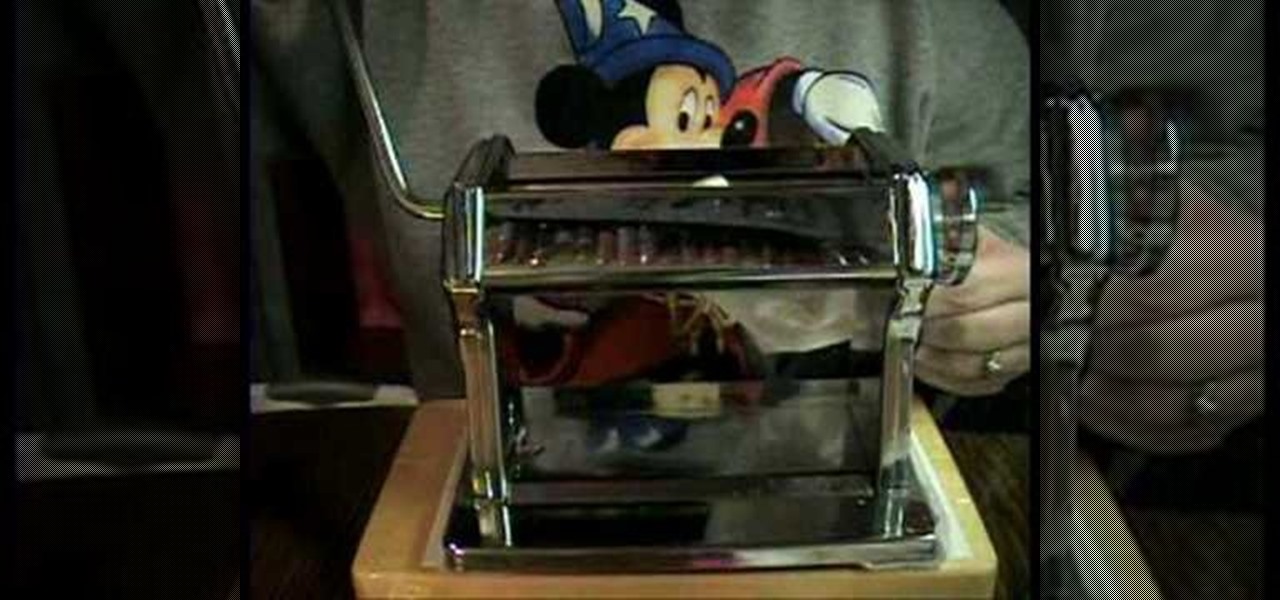
How To: Clean a pasta machine for polymer clay
In this video, we learn how to clean a pasta machine for polymer clay. First, take a diaper wipe and scrub the blades. Then, roll the wipe through the blades. Scrub all over the machine and roll your blades several times while scrubbing on the inside. Roll the wipe inside the machine several times or until the machine starts to roll through with clean lines. That way you will not get different colors when you use white clay. Push white clay through the machine to see if other colors show up. ...
How To: Make a balloon basket
In this video, we learn how to make a balloon basket. This will be a square anti-prism made of white balloons and pink balloons. But, you can change the color if you would like. Start out by creating large and small bubbles inside the first balloon. Then, tie this with the other balloon and connect them both together. After this, you will have the bottom of the basket. Create a bunch of bubbles connecting both of these and attach it to other bubbled balloons to create a large top above the ba...
How To: Make a balloon monster truck
In this video we learn how to make a balloon monster truck. If you're new to creating balloon creatures, this may be a bit difficult for you so follow along. Start out with a tan colored balloon and a purple balloon. Twist these together to start creating the truck. You will be twisting many bubbles into both of the balloons so you need to make sure you keep space in the balloon for air. Once you finish this, you will twist four more brown balloons into circles on the sides to make the tires....
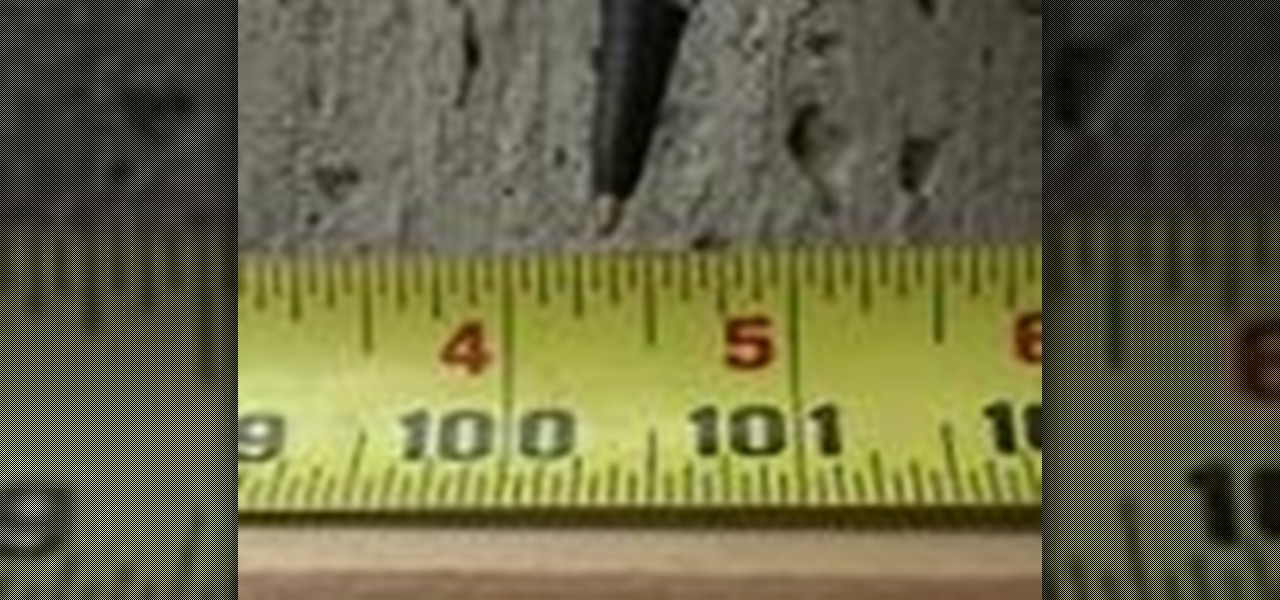
How To: Accurately read a tape measurement
In this tutorial, we learn how to accurately read a tape measurement. First, roll out the tape measure, then find the inch marks. These will be in red. From here, you will find the half inch marks between each of the red inches. Half of the half inches will be right in the middle of that, and exactly half of the half! In between this, you will find 3/4 of an inch and 1/8 of an inch. Make sure you have a good view of the lines on the tape measure so you can identify these correctly. The last m...

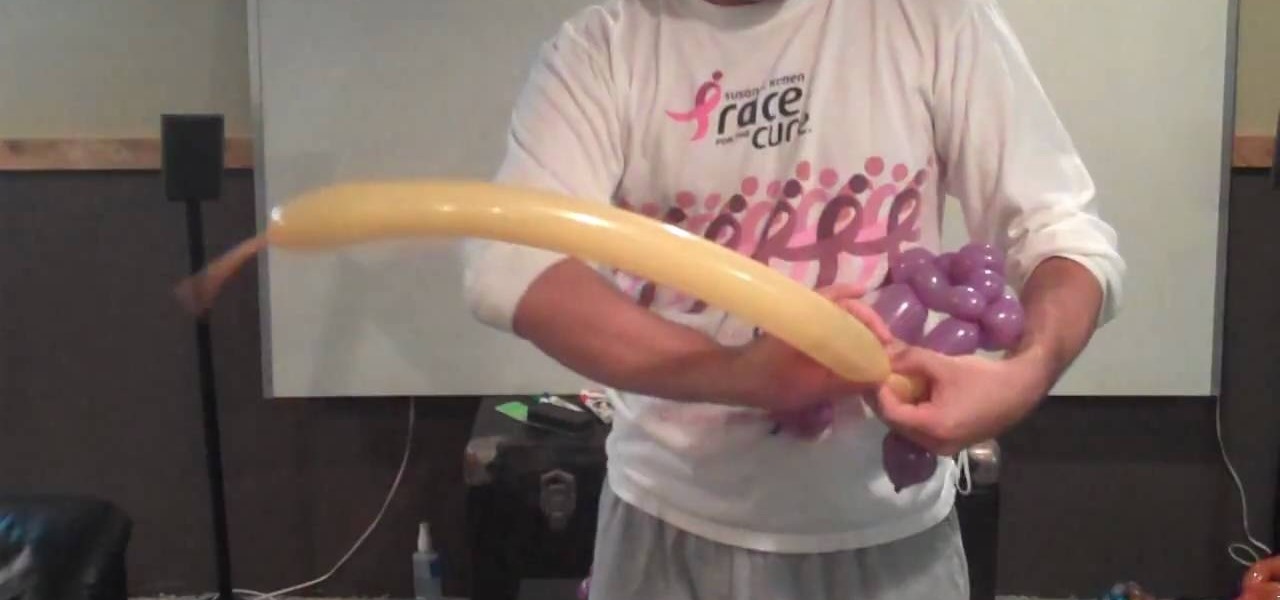
How To: Make an Oscar award out of balloons
In this video, we learn how to make an Oscar award out of balloons. First, you will need to grab some gold colored balloons and have a slight idea on how to make balloon animals since this is an intermediate practice. To make this Oscar award, you will need a total of 260 balloons. Start out by making the base of the balloon and then work your way into baking the middle and the top. As you go, you will need to twist many of the balloon into each other and learn the techniques for blowing thes...
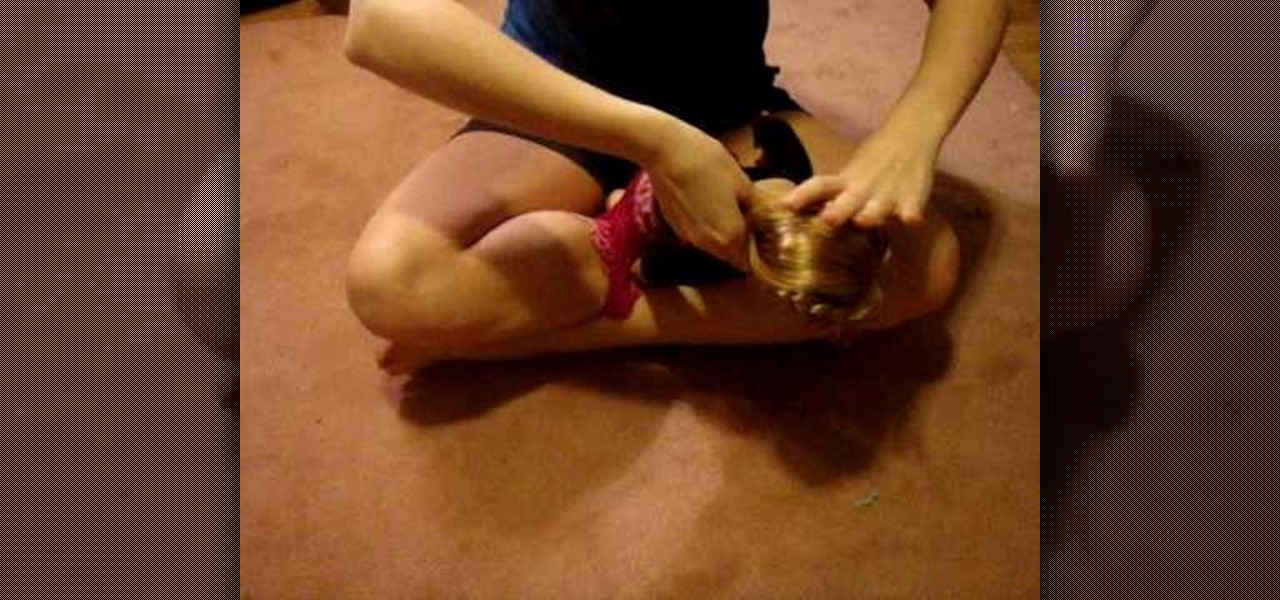
How To: Weigh and attach the head to your reborn baby doll
In this tutorial, we learn how to weigh and attach the head to your reborn baby doll. First, insert the stocking into the head, leaving the remaining out. Then, pour in large glass beads until the head is your desired weight. After this, tie the stocking as close to the beads as possible, then cut off the additional fabric. From here, you will fill the head in with soft filling until it's completely full. After this, you can apply the cap and glue around the base of the head. When this is dri...
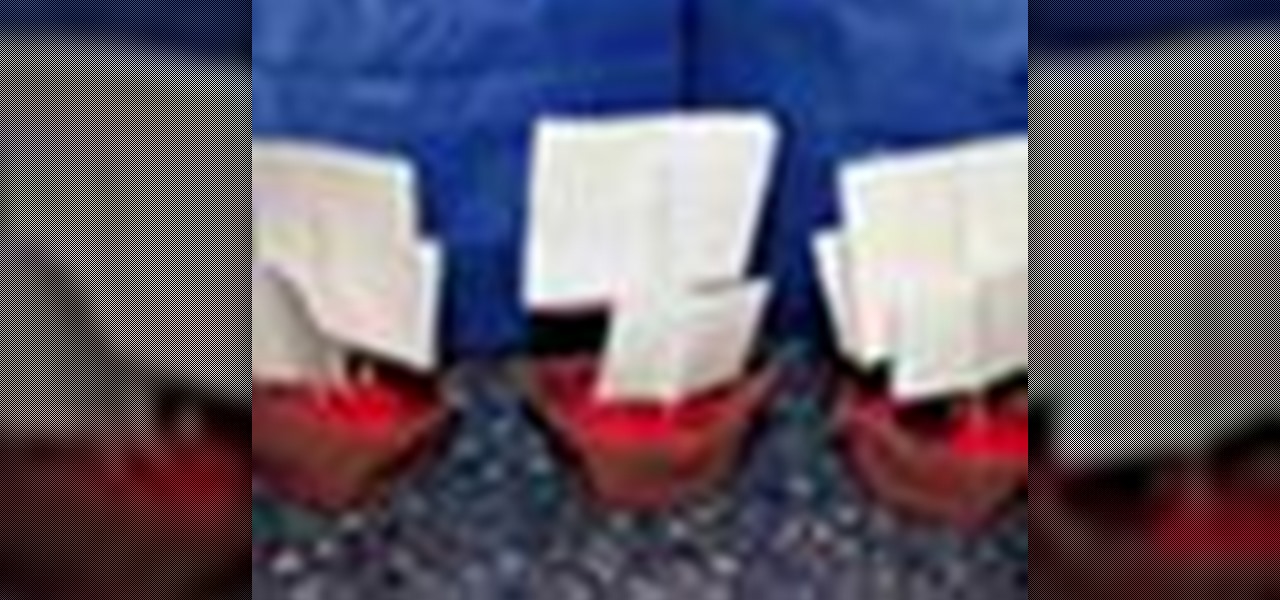
How To: Make miniature models of Columbus's ships (Niña, Pinta & Santa Maria)
There's no better way to celebrate the discovery of the New World than by recreating Christopher Columbus's three ships from the famous voyage— the Niña, Pinta & Santa Maria. In this short ship-building how-to, you'll learn a simple activity for you and your kids, where you'll make miniature ship models of Columbus's boats with egg cups, brown paint, white paper (sails), toothpicks, clay and glue.
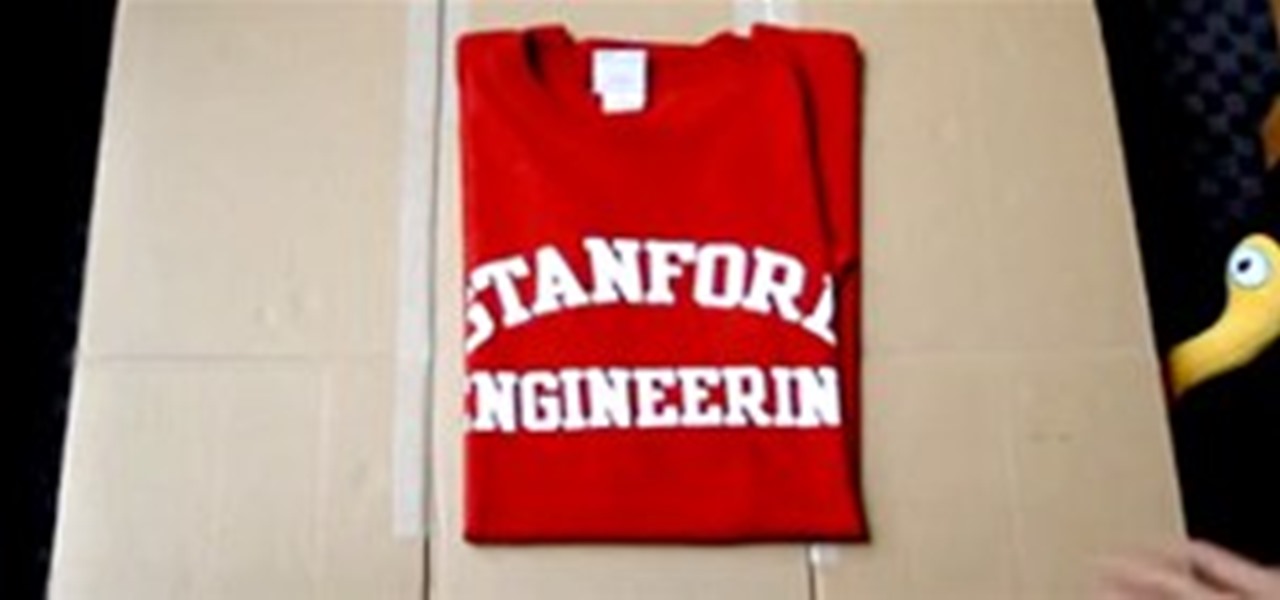
News: Can Your LEGOs Fold T-Shirts?
You can learn how to fold a t-shirt perfectly with your own human hands. OR you can be like changyunhsu and teach your LEGO mindstorms robot to do it. Seriously impressive.
How To: Create a giant balloon spider for Halloween with balloon twisting
Looking to spice up your Halloween decorations for your yard or party and want to try something new or different? Try balloon twisting! Yes, the stuff that clowns do, it's harder than it looks! In this video you will learn how to create your own giant balloon spider using balloon twisting for any spooky occasion!
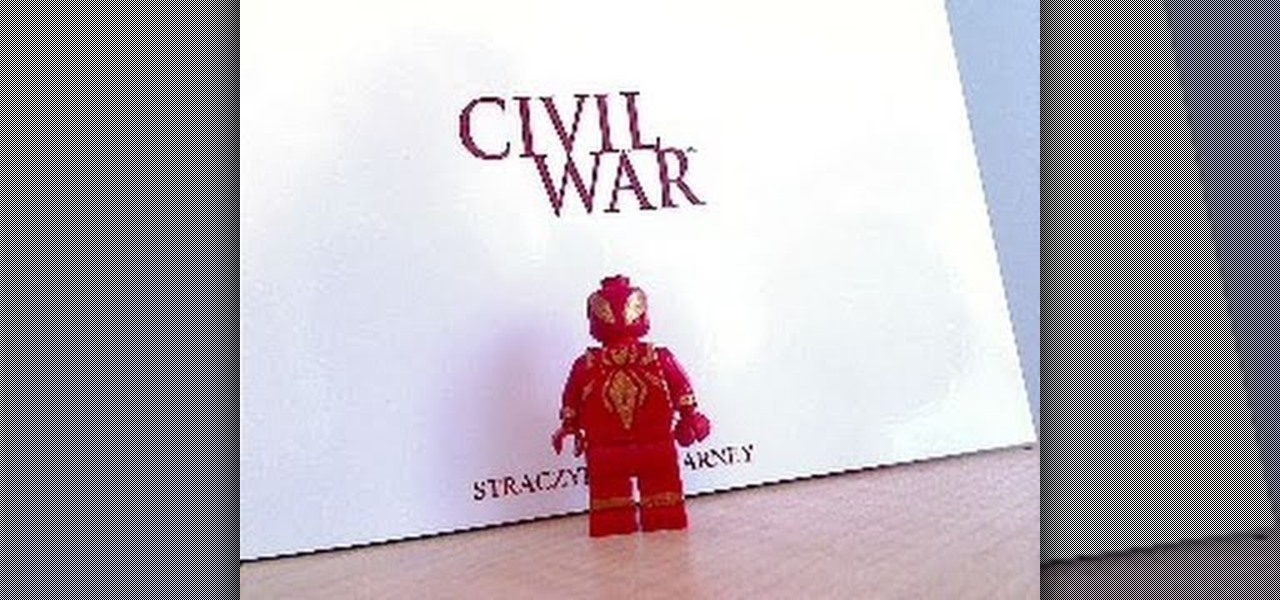
How To: Make Spider-Man's Civil War costume on a Lego minifigure with some paint
Legos is a great way of letting your imagination run wild and create anything you can dream of! If you're looking to recreate some of your favorite scenes from the Marvel Civil War series, why not start with Spider-Man's Iron Spider suit? In this video you will learn how to assemble and paint an Iron Spider Lego minifig!
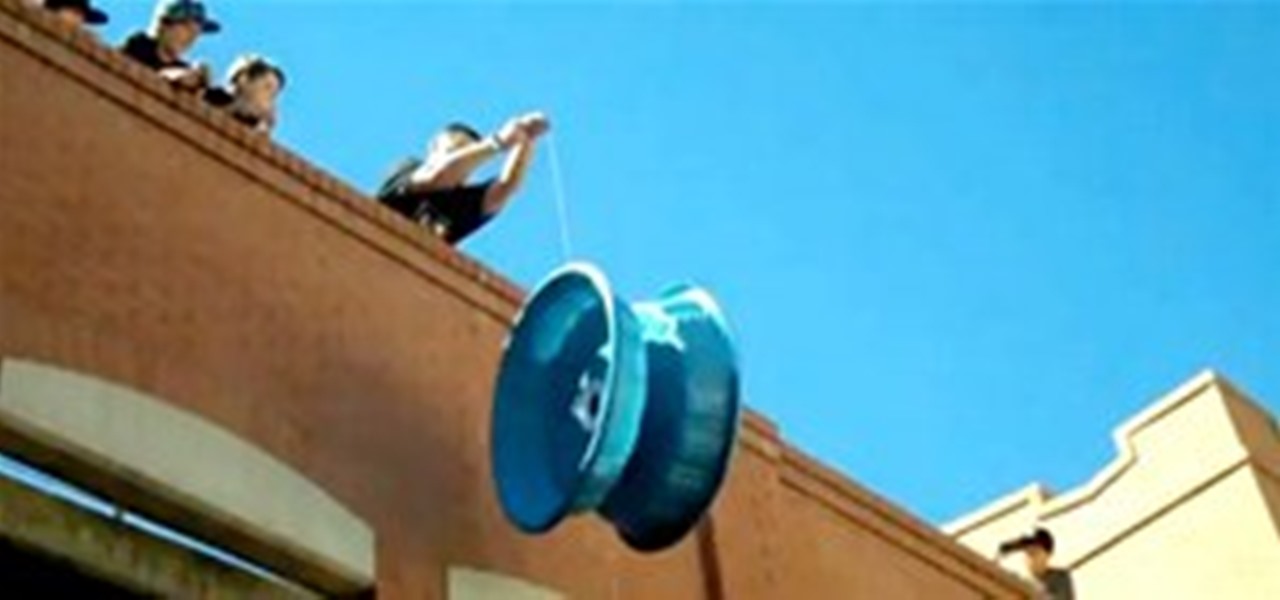
News: Who Knew? Dog Pools Make Good Yo-Yos
Two dog pools, some hardware, and damn, you've got yourself a big yo-yo. Chris Allen, a professional yo-yoist (yes, this exists) is claiming world's biggest yo-yo status with his latest creation. It stands 35 inches across, 18 inches wide, and weighs 5.4 pounds. Watch below as Allen tests it off the roof of parking garage of the National Yo-Yo Museum in Chico, California. Previously, Yo Mama Ain't Got Nothin' on Jensen Kimmitt (AKA The Yo-Yo God)

How To: Make your own crazy putty out of school glue and borax
It stretches, it squishes... it's silly putty! You can make your own toy putty at home, using a simple recipe of school glue (don't get the washable variety), borax, water and food dye to add a bit of color. Mix and then let it dry out a bit. Silly putty!
How To: Turn a squirt gun or Nerf gun into a steampunk ray gun with spray paint
Start with a regular plastic toy gun, like a squirt gun or NERF gun. Then, spray paint it a matte black. Once it dries, take several different colors of rub'n'buff and apply with your fingers. Now, you have your own steampunk style ray gun! Or, High Velocity Electrochemical Propellant Device!

How To: Give any item or prop a steampunk inspired paint job
The key to a good steampunk paint job is getting the distressted metallic look just right. This tutorial shows you how to add a lot of aesthetic appeal to your next steampunk prop mod, whether it's goggles, binoculars or something entirely different.

News: Child-Size BattleMech Suit Strikes Fear into Hearts of Kindergarten Teachers
Goodbye, BabyBjörn; hello, cherry-red mechanical exoskeleton! Now that 400-pound steel-clawed battle suits are available in Children's Small, what kid could possibly content him or herself with getting around by stroller?
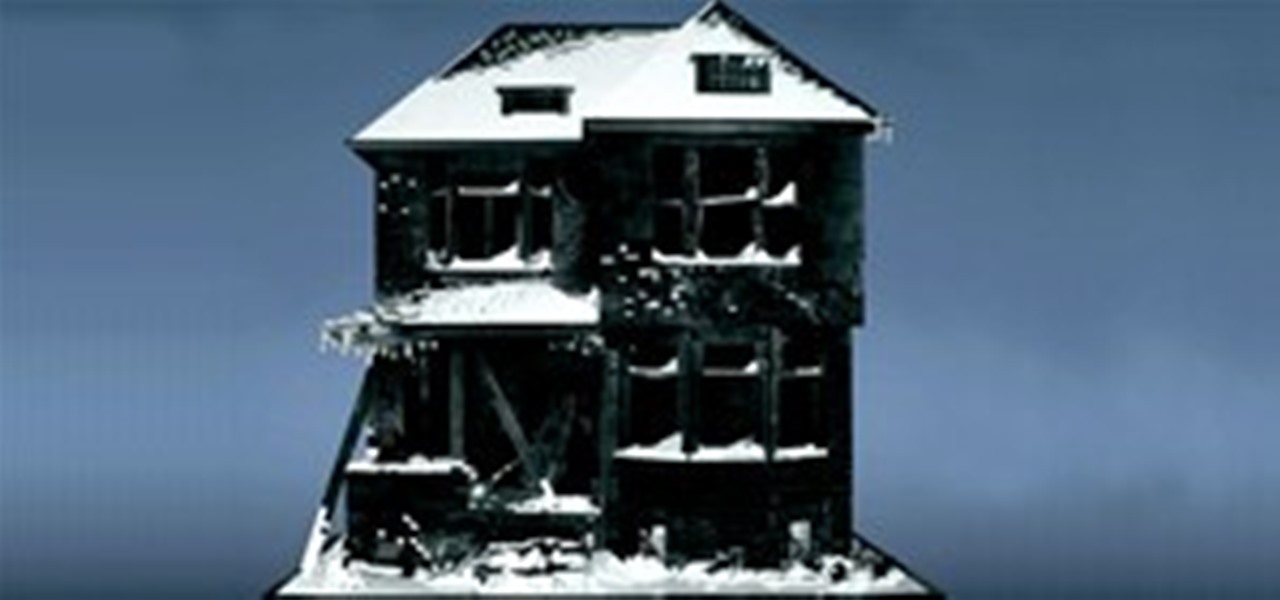
News: Economic Depression (LEGO-Style)
Imagine you wanted to make LEGO art, and you chose to make a spooky, abandoned house, like something out of economically depressed Detroit.
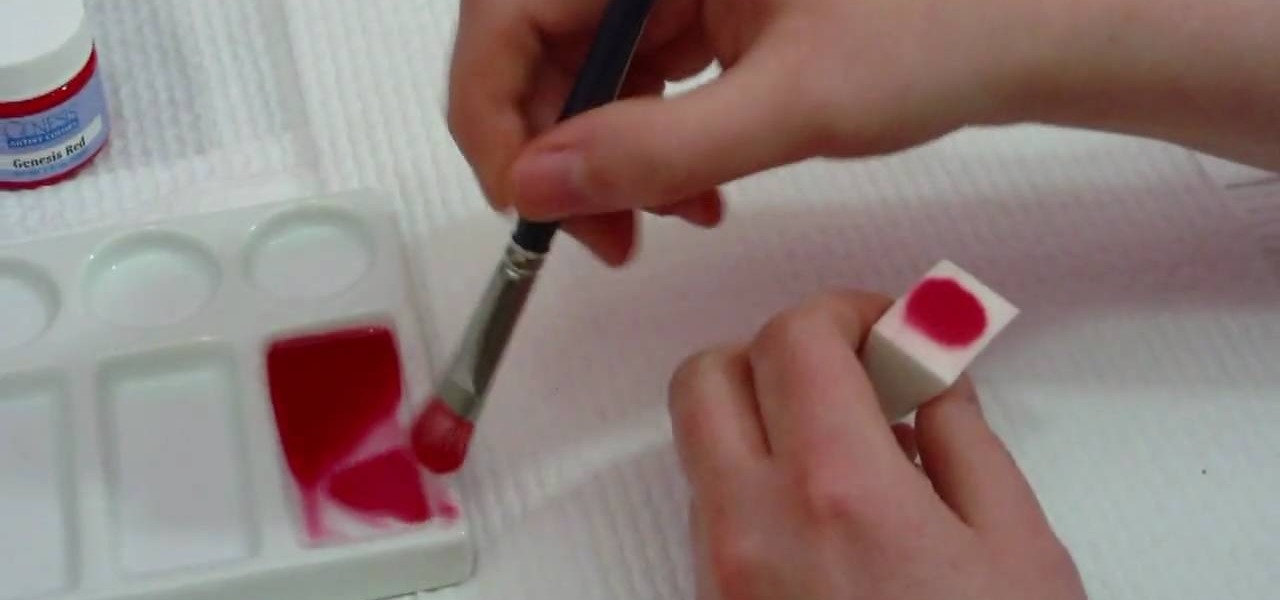
How To: Apply flesh coat number 08 to a reborn baby doll
In this tutorial, we learn how to apply flesh coat number 08 to a reborn baby doll. Start out by adding thinners and paint to your mixing tray. Then, grab your small brush and add in the flesh colored paint to the tray. Add in just enough to color the water just completely. Now, brush this color onto a white sponge until you have the right color. Next, brush this flesh color onto the limbs of the baby doll. After this, use your sponge to dab the paint onto the vinyl evenly. Repeat this for al...
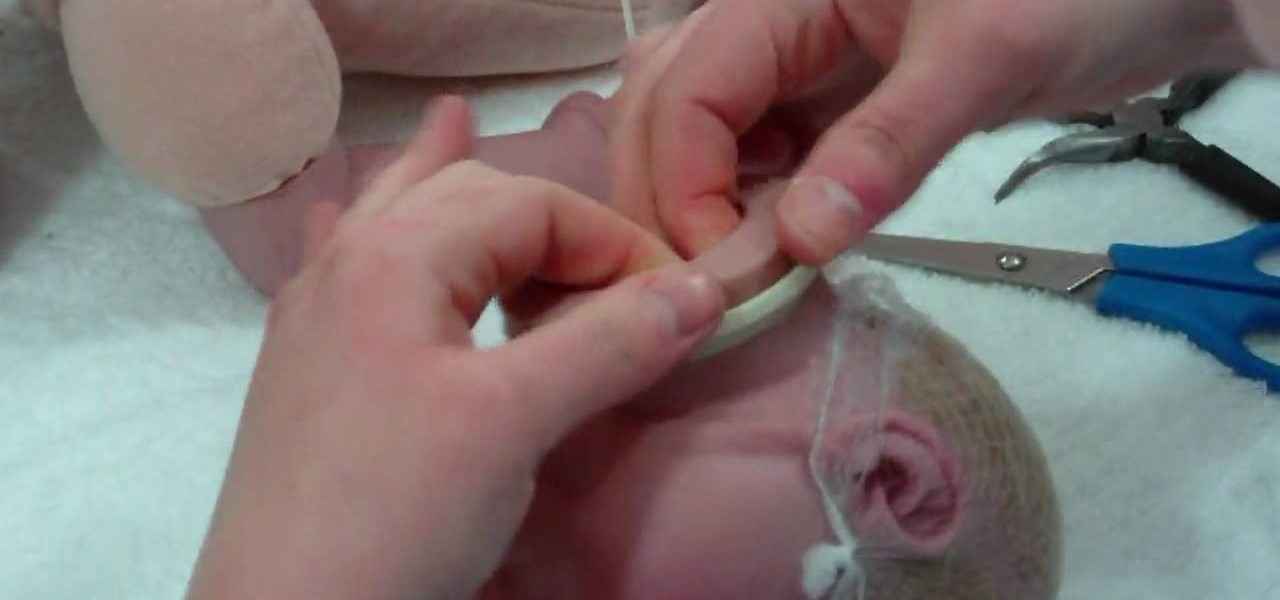
How To: Apply a neck ring and plug on a reborn baby doll
In this tutorial, we learn how to apply a neck ring and plug on a reborn baby doll. First, attack the neck ring to the doll head by pulling the vinyl onto the lip using your fingers. You will need to use your hands to push the inside of the neck through the ring. This will take a lot of pushing and pulling. After this, you will need to attach your plug. First, place it into the neck of the head to make sure it fits. After this, stuff it with cotton and then push it back in. Now you will be ab...
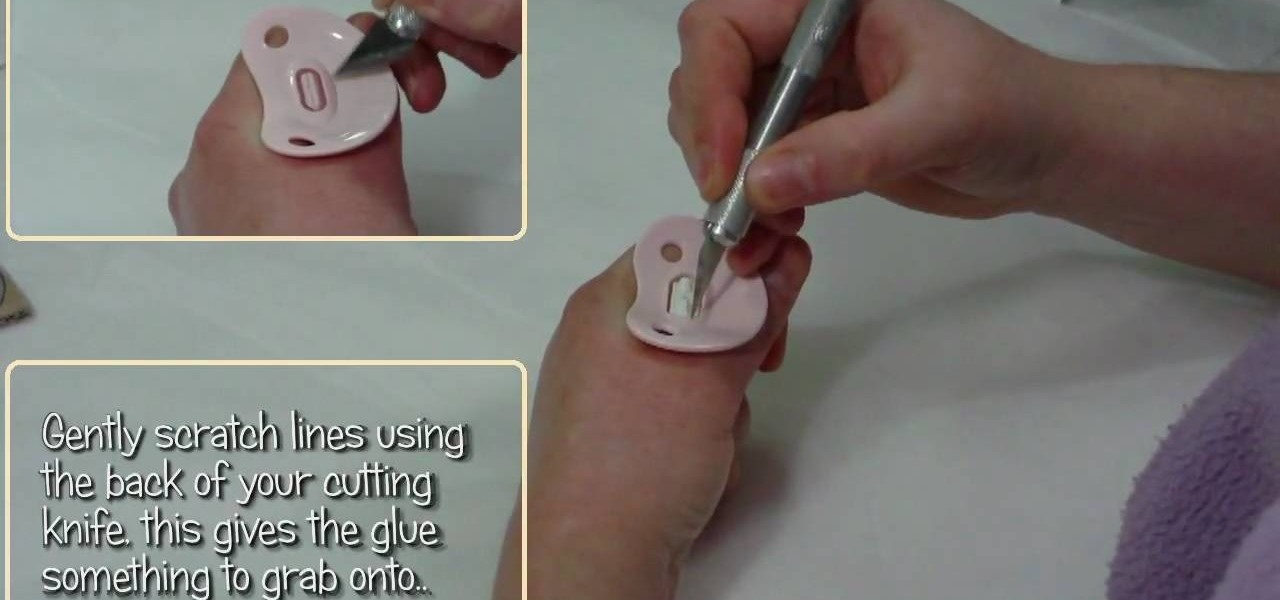
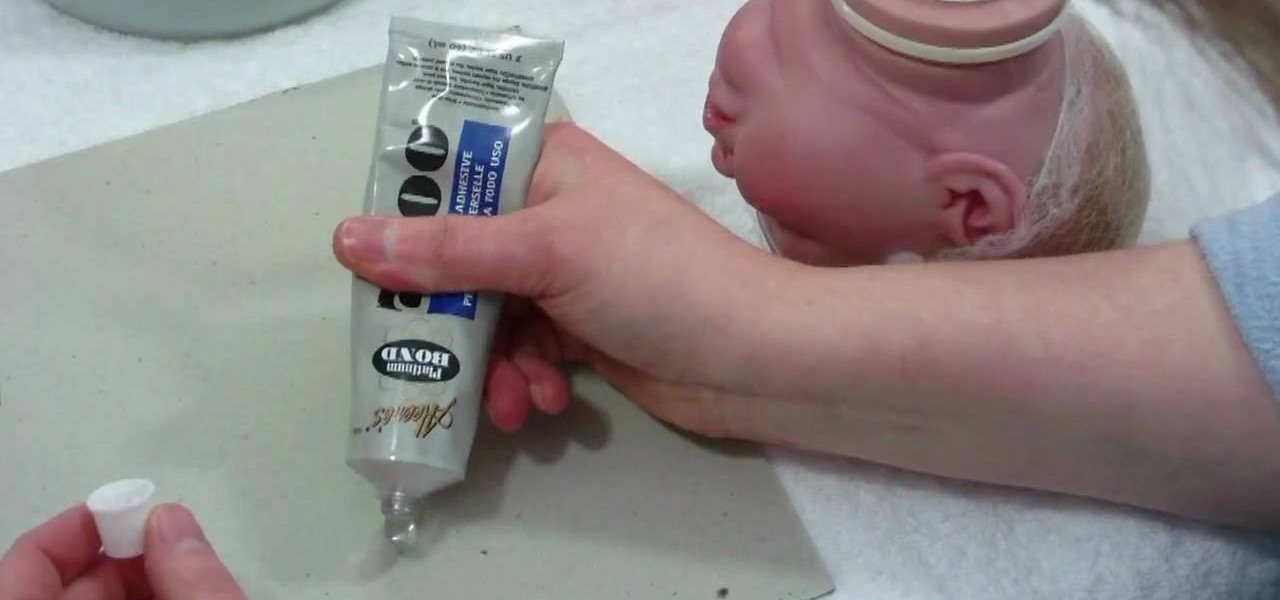
How To: Glue a magnet onto a dummy/pacifier for a reborn doll
In this tutorial, we learn how to glue a magnet onto a dummy/pacifier for a reborn doll. First, gather all the tools you need to do this project. After you have these, remove the teeth from the pacifier. Next, scratch lines using a cutting knife so the glue grabs onto the center better. After this, apply the glue and the magnet, then place it on the dummy and press it there for several seconds until it is firm in the right place. After this, glue the surface of the pacifier onto the baby, the...
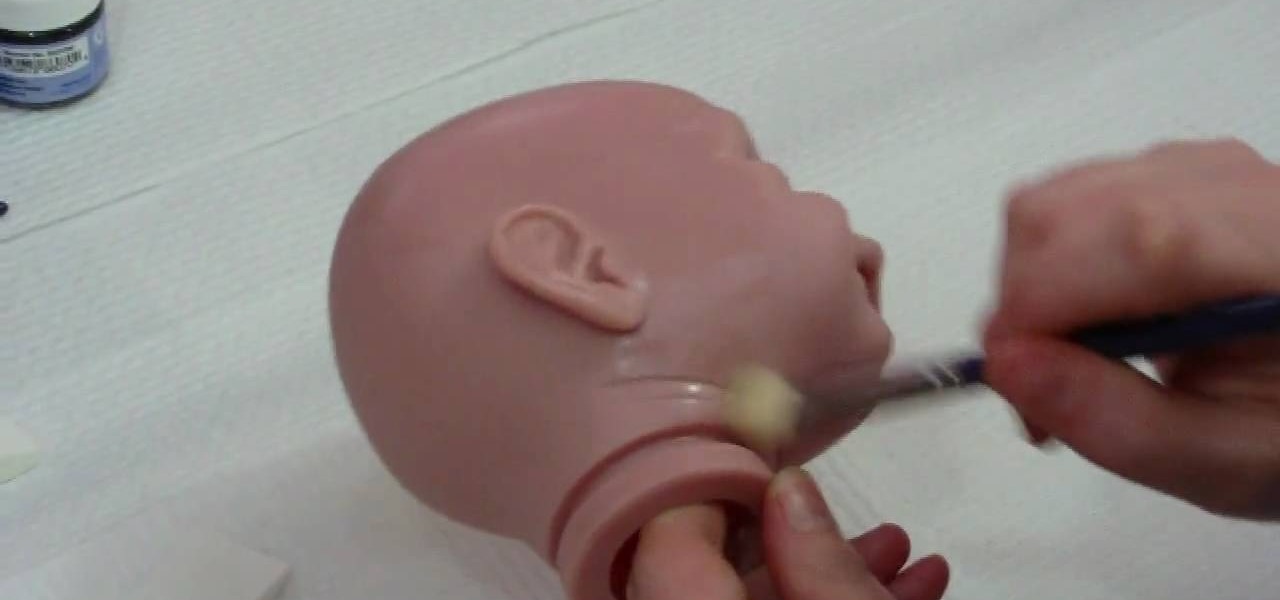
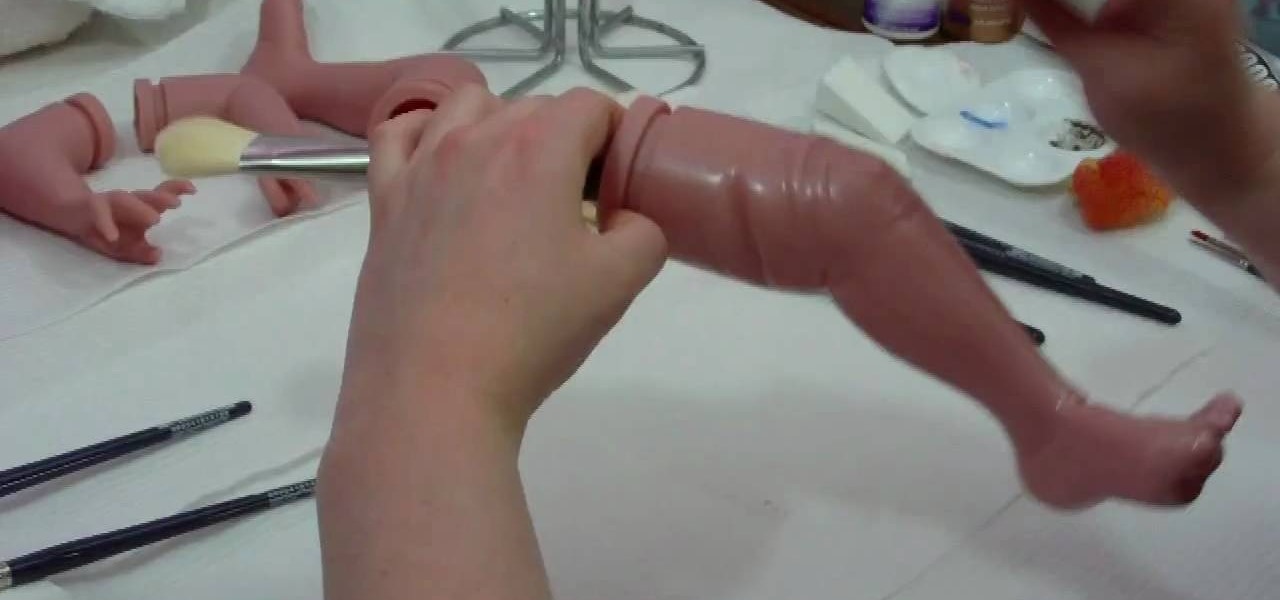
How To: Mottle using cosmetic wedges on a reborn baby doll
In this tutorial, we learn how to mottle using cosmetic wedges on a reborn baby doll. After you have gathered all the tools you need, you can mix all the paints together. Now, start to dab the paint onto the chest and stomach of the baby. After you have done this all over, creating a flesh toned color, let this dry then start to apply to the limbs of the baby. Once you have covered all the sections of the limbs, make sure you have covered all the areas by going through them once more. Let the...
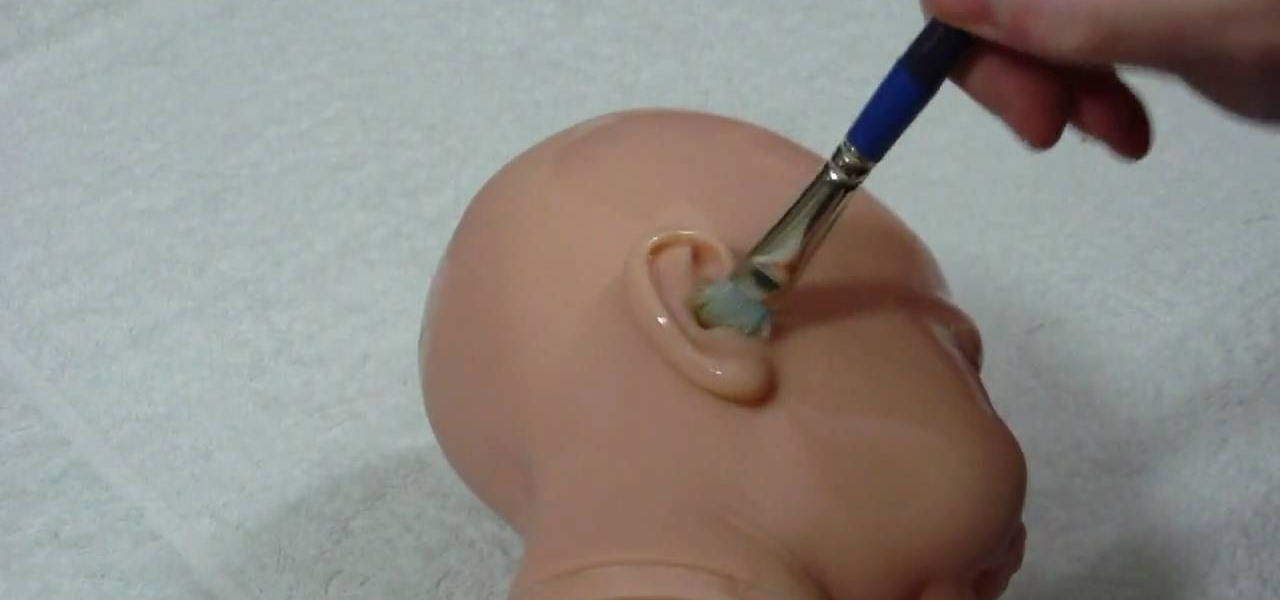
How To: Apply green wash to vinyl when making reborn dolls
In this tutorial, we learn how to apply green wash to vinyl when making reborn dolls. First, you will need to gather all of your tools to create your doll project. After this, mix up your paint and then apply it to a sponge with a brush. Then, start to dab the paint onto the stomach and chest of the doll, then brush over it with the paint brush. When you finish with this, dab on the sponge again, then set aside to let dry. Continue doing this same process for the limbs and the face of the bab...
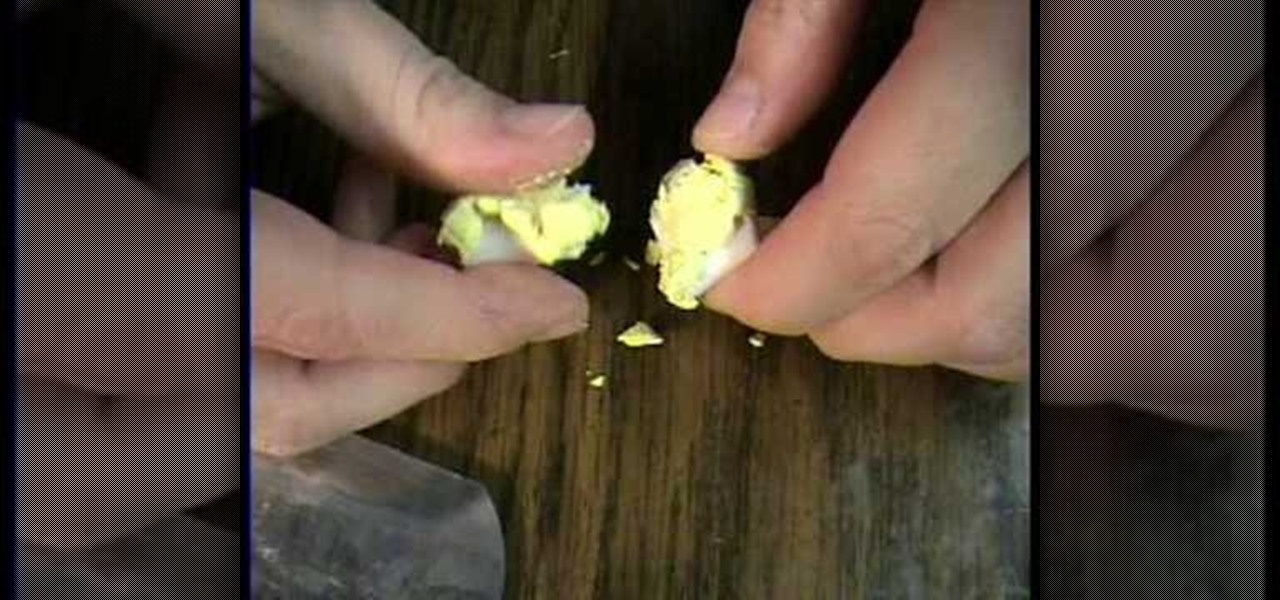
How To: Soften polymer clay
In this tutorial, we learn how to soften polymer clay. If you have crumbly clay and you want it to be soft, then you can make it softer easily. Now, take the clay and break it up into small pieces. Then mush this together with some translucent clay that is softer. Work this together with a jar or put it through a pasta machine. When you do this, it should be pretty soft and the air pockets should be removed. Continue to work the clay until it is all one color and it is really soft, then you c...
News: Gimme, the Panhandling Robot, Wants Your Pocket Change
This panhandling robot isn't too proud to beg. In fact, it's custom-built for it. And who could refuse? Get a load of that puppy-dog eye.
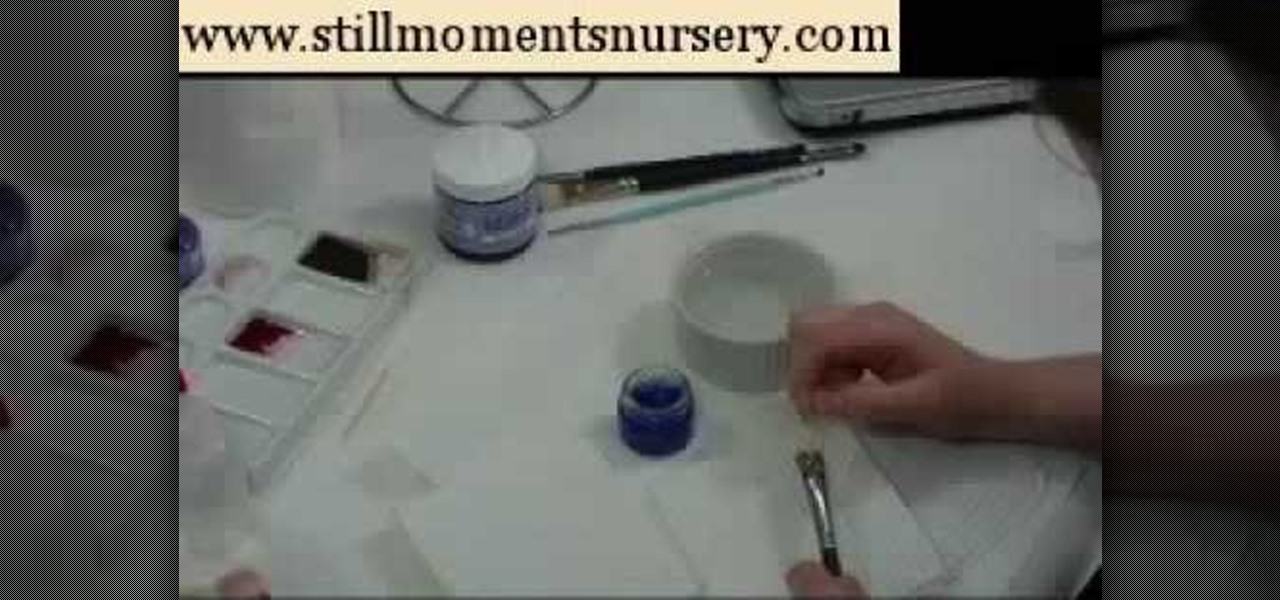
How To: Apply blue wash to neutralize orange on a reborn doll
In this tutorial, we learn how to apply blue wash to neutralize orange on a reborn doll. First, gather all of your materials and mix up your paint. Once it's mixed, dab the paint onto a sponge with the paint brush. Then, use the paint brush to paint on the color to the limbs of the baby. Make sure to take extra time around the feet so you get in between the small areas. Then, use the sponge to dab the paint all over the limbs. after this, continue on to the rest of the limbs of the baby using...
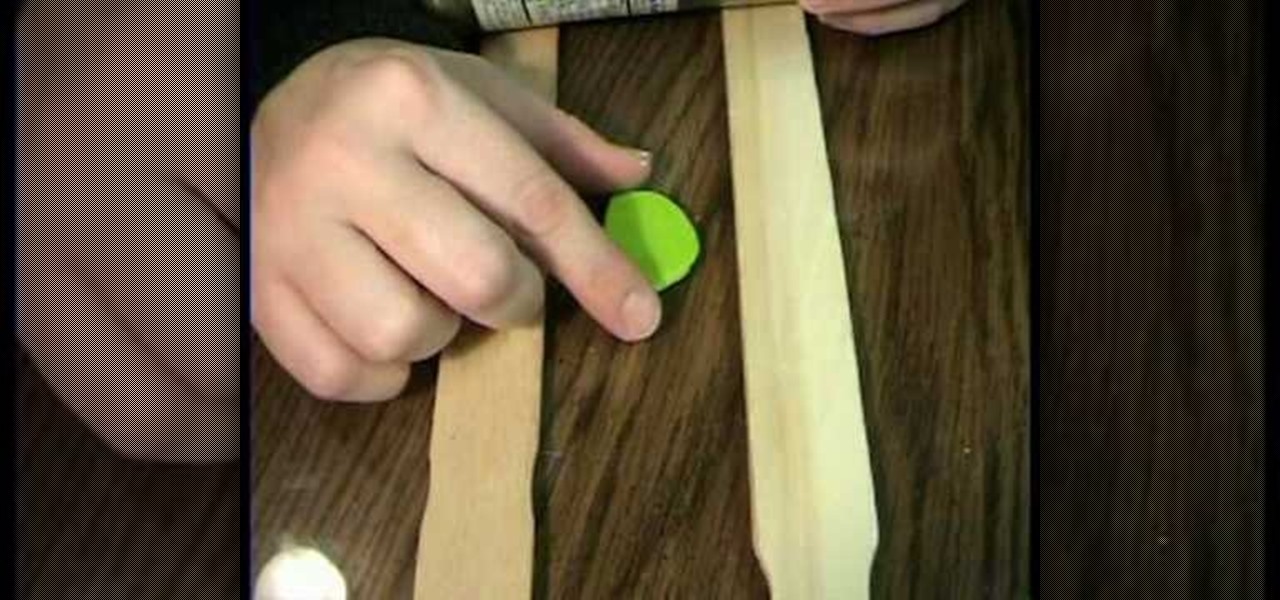
How To: Roll clay without a pasta machine
In this tutorial, we learn how to roll clay without a pasta machine. First, warm up the clay in your hands and put them between two flat sticks. Next, use a glass bottle or cup to roll out the clay. Make sure the bottle is on the paint sticks as you are rolling. This will leave your piece of clay thick but flattened out. You can make this as thick or as thin as you would like to be. You can do this several times and use different types of sticks or side holders to change how the clay looks, e...
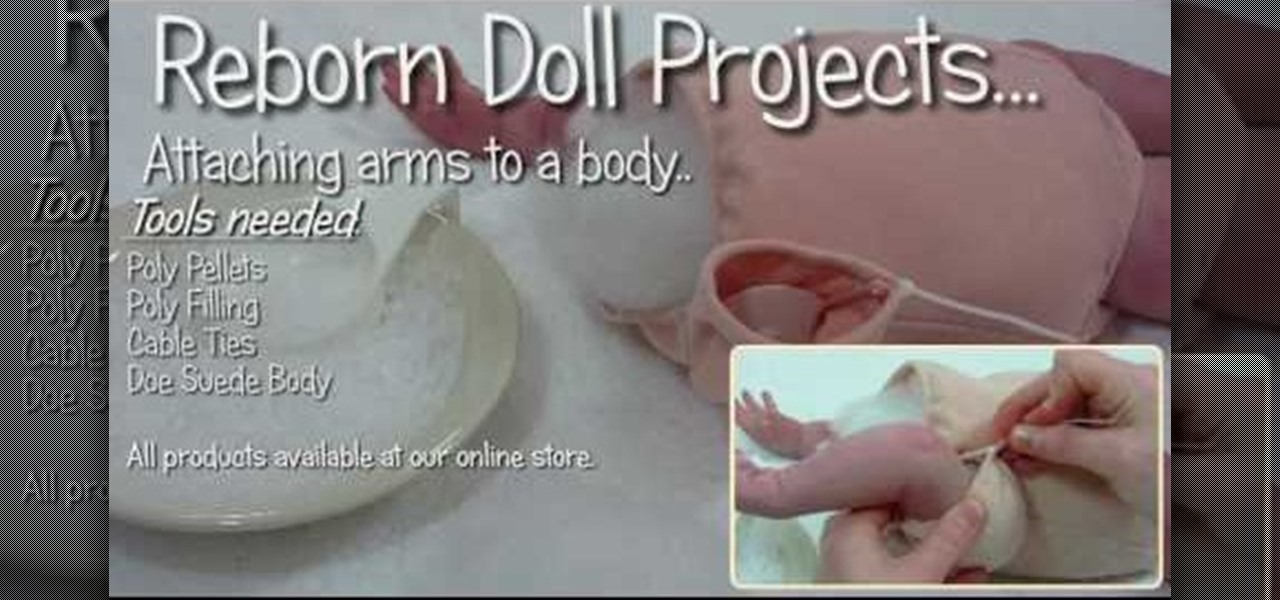
How To: Weigh the shoulder and attach the arm on a reborn doll
In this tutorial, we learn how to weigh the shoulder and attach the arm on a reborn doll. First, gather all of your tools and then start to fill the shoulder of the doll. Do this by filling 1/3 of the top of the shoulder joint with poly fill. Next, fill the middle with poly pellets and leave room for more poly fill fiber. Once you have done this, place small amount of poly fiber fill over the pellets. Don't over-fill the arm. Then, attach the arms to the boxy and tighten it up with the fluff ...
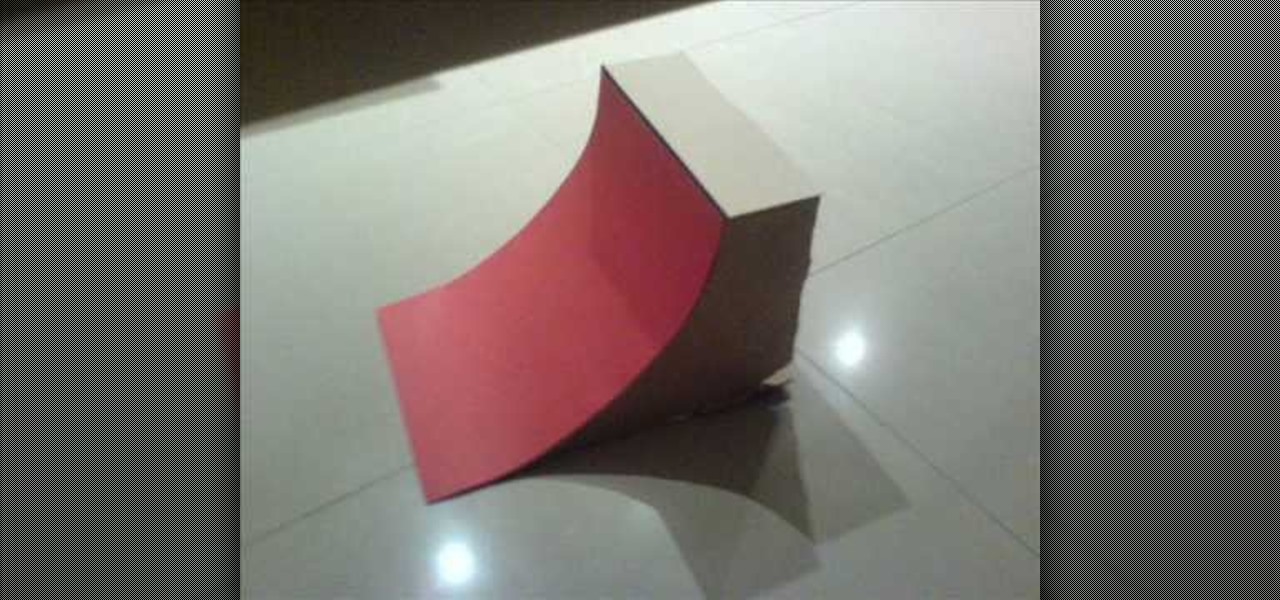
How To: Build a Tech Deck quarterpipe
This is a video tutorial in the Hobbies & Toys category where you are going to learn how to build a Tech Deck quarter-pipe. For this you will need hot glue gun, hot glue sticks, coat hanger, cardboard, card and scissors. First cut out the three pieces of the frame out of the cardboard. Then glue a support to the bottom of the 3 pieces. Now glue the card on top of the frame. To make the coping, cut off a length of the coat hanger that is equal to the width of the quarter -pipe and glue on the ...
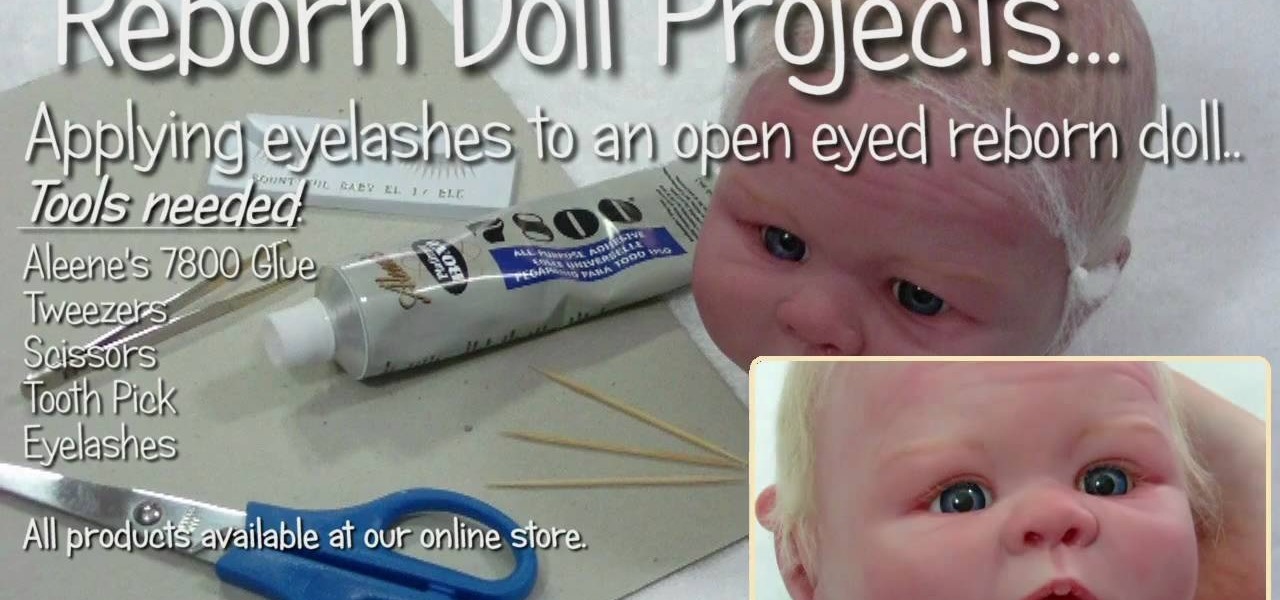
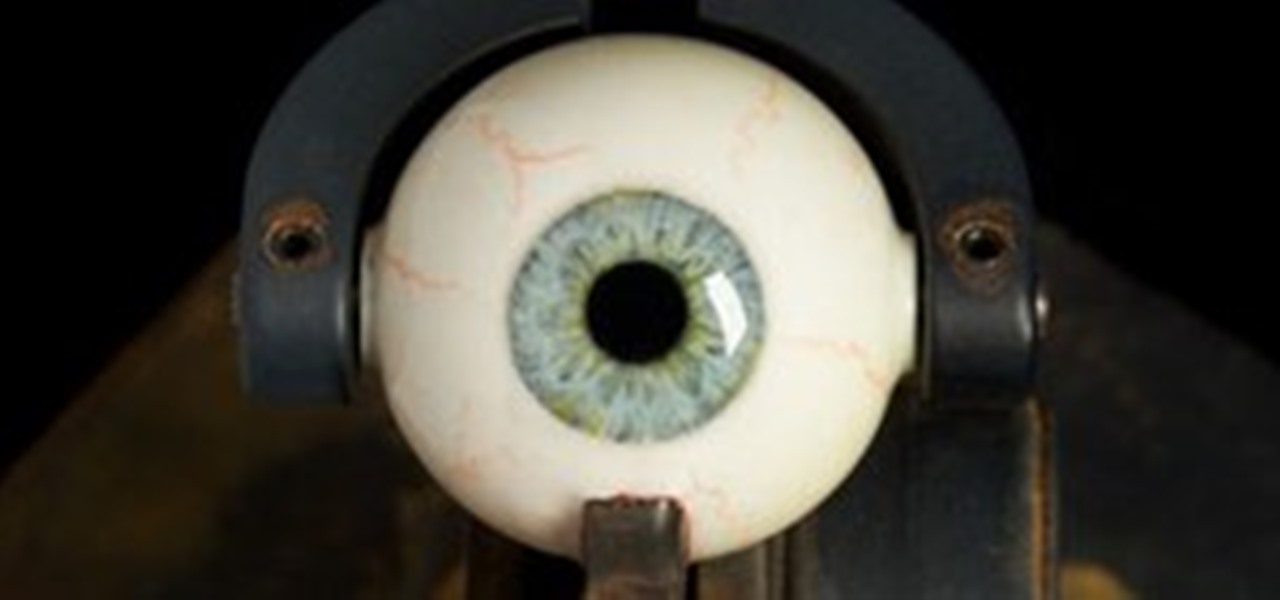
How To: Apply eyelashes to open eyed reborn baby dolls
In this video, we learn how to apply eyelashes to open eyed reborn baby dolls. First, you will need to prepare the glue by placing it on a flat surface and letting sit for a couple minutes. Then, take the new eyelashes and remove the existing glue with tweezers. After you do this, dip the base of the lashes into the glue. Do this slowly and make sure to wipe off any excess glue when you're finished. Place the glue evenly around the entire lash. Now, bring the lash to the eye and insert it int...
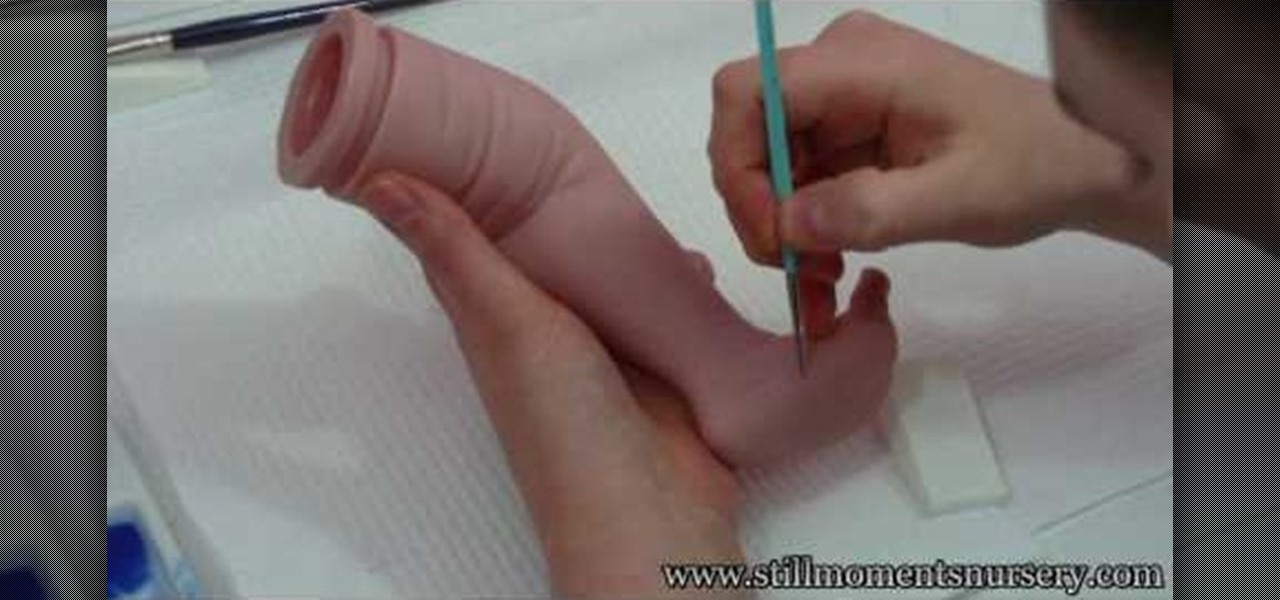
How To: Apply veins to a reborn baby doll
In this tutorial, we learn how to apply veins to a reborn baby doll. Gather up all your materials, then mix the proper paint for the veins. After you're finished mixing, use a very fine tip brush to add the veins onto the baby's chest and stomach. Use a sponge to dab onto the paint after you have painted the veins onto them. When finished with the chest area, start to apply the veins to the limbs of the baby. Continue to do this until you have painted realistic veins on all the appropriate pa...
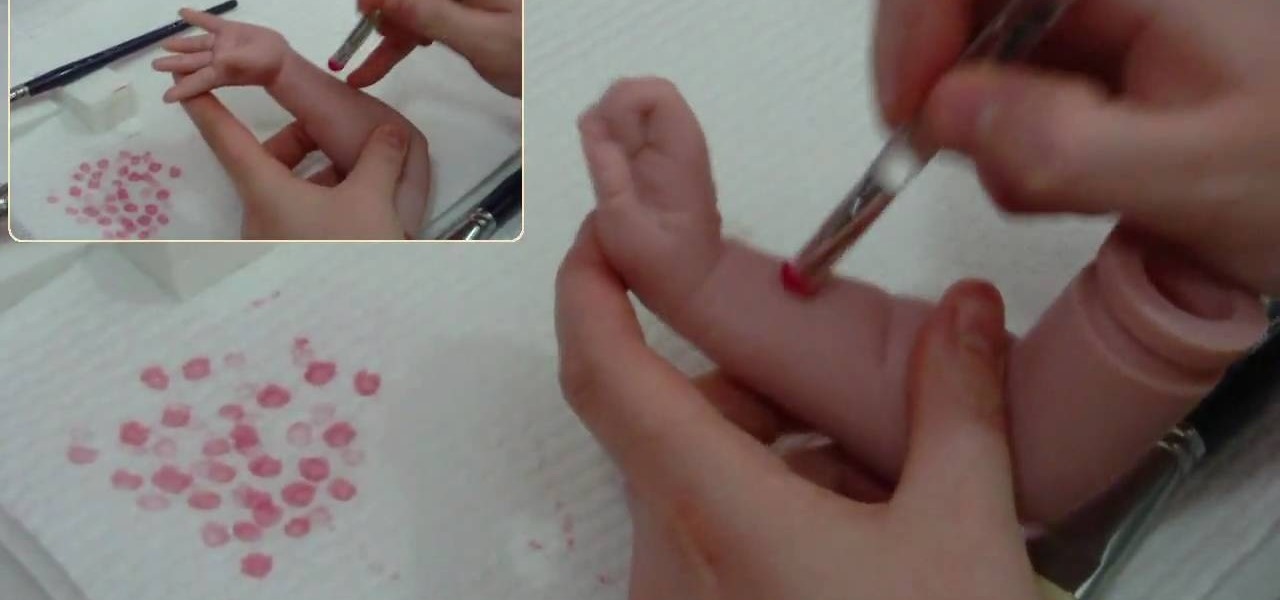
How To: Mottle with a berry maker brush on a reborn baby doll
In this video, we learn how to mottle with a berry maker brush on a reborn baby doll. First you will need to gather all of the materials you need, then mix up your correct paint colors. Next, you will use a small dabbing brush to dab the color onto the stomach of the baby. Once you have finished this, work your way up to the chest. Be sure to dip your brush inside the paint every time you run out of some. Once you're done, do this same process for all of the limbs, avoiding the soles of the f...
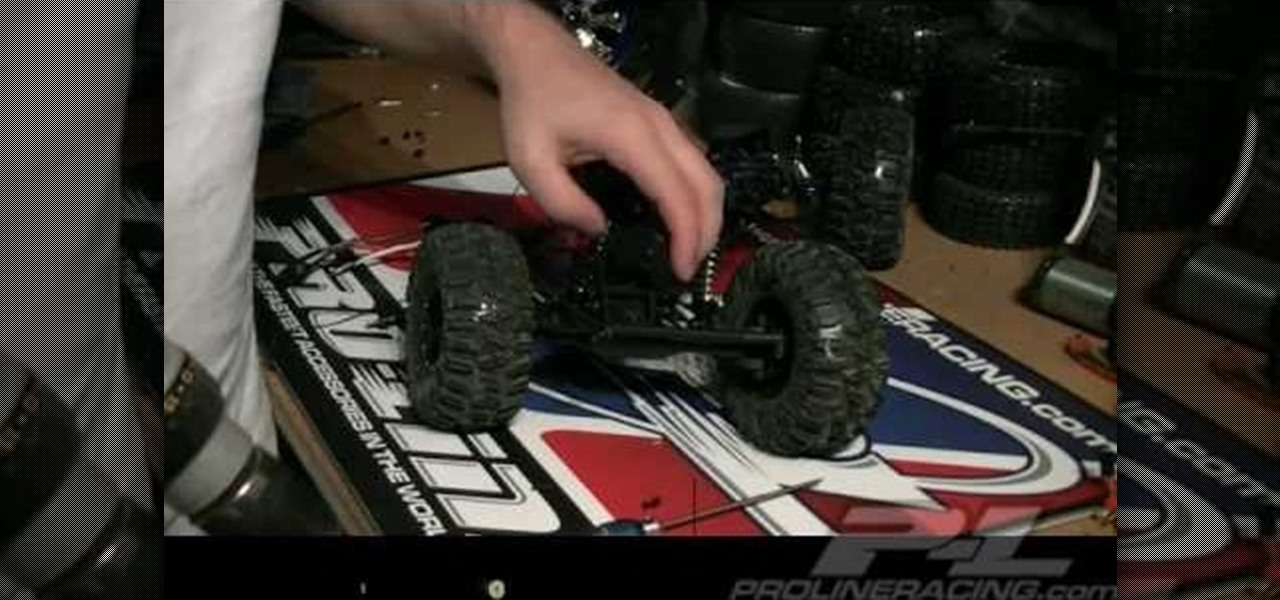
How To: Waterproof a remote control car to keep it safe
It's always handy to waterproof your RC car because your toy car is going to tread in a lot of dirty - and sometimes wet - ground. This means that any electric circuitry faces the risk of coming in contact with water and fizzing out.
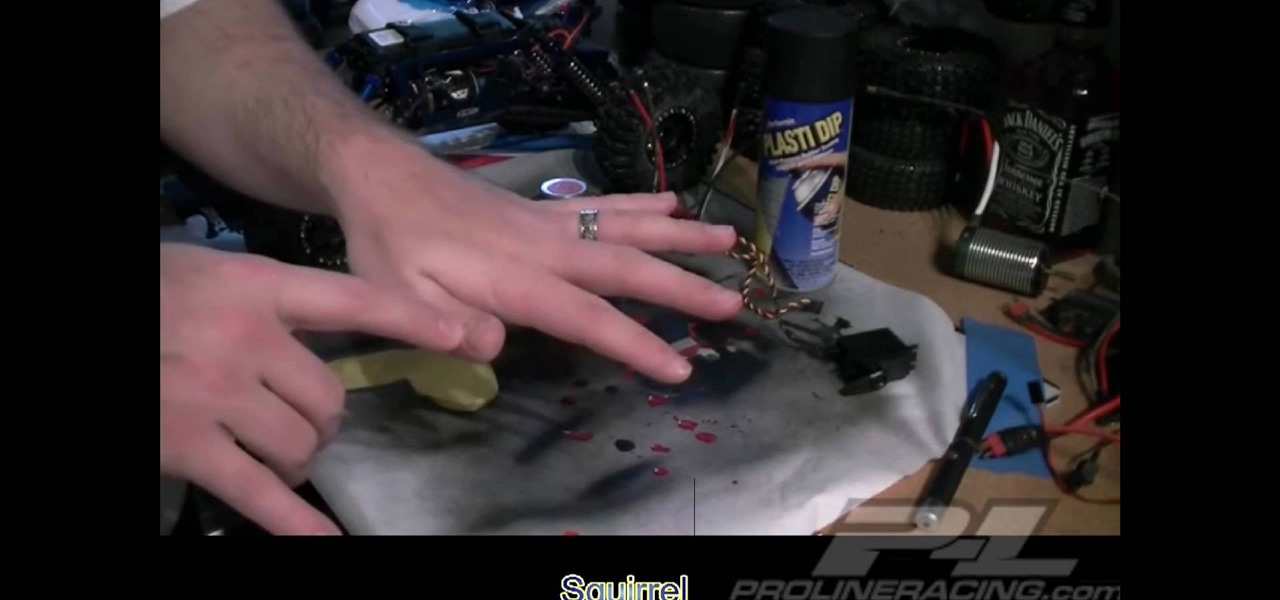
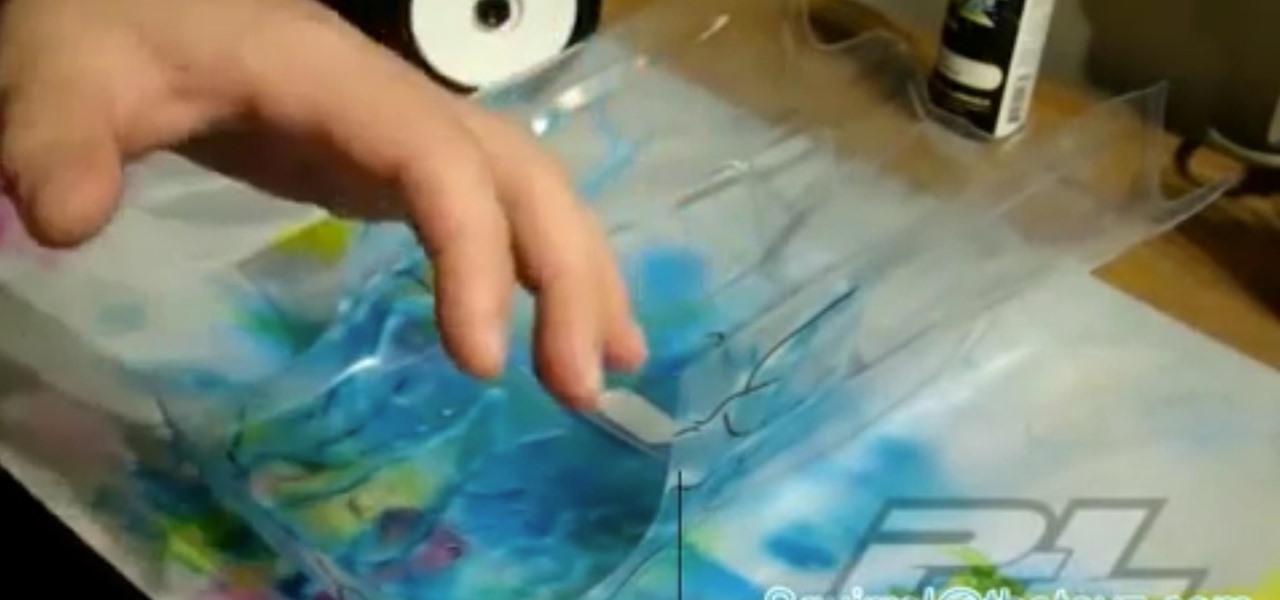
How To: Water proof the receiver for your remote control car
It's always handy to waterproof your RC kit because your toy car is going to tread in a lot of dirty - and sometimes wet - ground. This means that any electric circuitry faces the risk of coming in contact with water and fizzing out.
How To: Clean brushes using Genesis cleaner for reborn dolls
In this video, we learn how to clean brushes using Genesis cleaner for reborn dolls. First, dip the brush into the cleaning solution and allow the dye to drain off of the brush. After most of the paint is gone from the brush, dip it into water and continue to clean until the water running over it runs clear. Continue to repeat this process for all of the different brushes you have used. When finished, lay the brushes down on a flat and dry surface, then let dry overnight or until they are com...
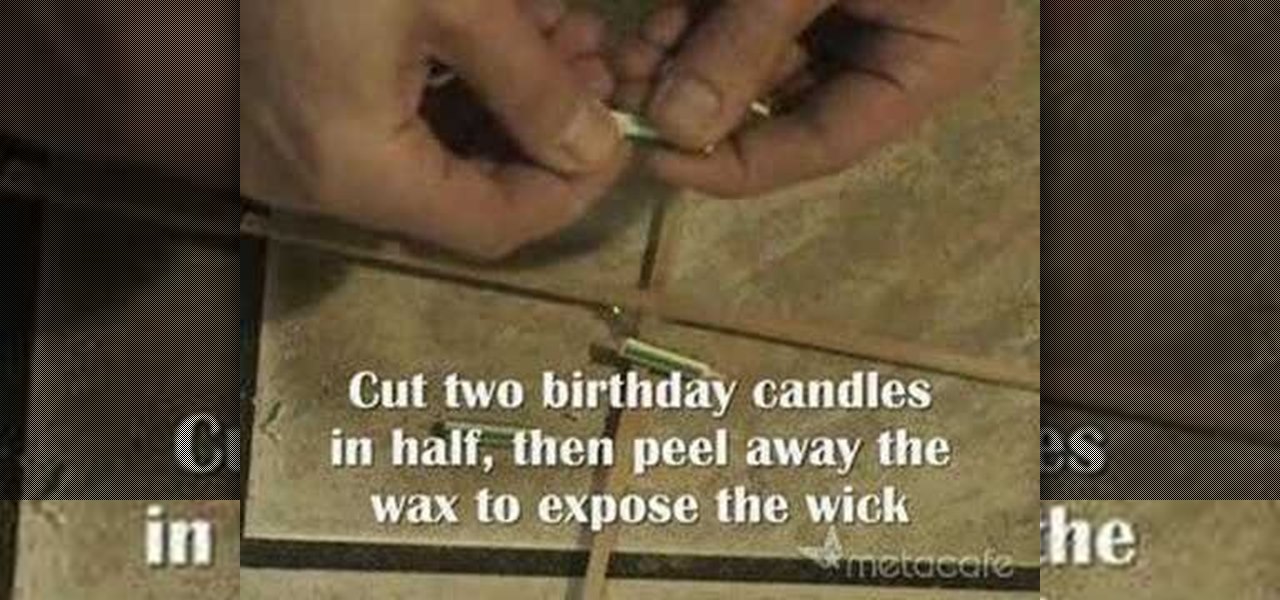
How To: Make a homemade hot air balloon with a grocery bag and candles
For those of us lucky enough to have gone on a hot air balloon, the sights you see are truly something spectacular. And unline hopping aboard a plane or a helicopter, hot air balloons are completely open air, which means you can enjoy the wind blowing in your face and communing with nature.